Showing posts with label handmade gifts for boys. Show all posts
Friday, April 22, 2011
Basic Pillow Case
My baby Boo's 2nd birthday is coming up quick, only 64 more days! Right now that Little Boo is into construction trucks, especially excavators and backhoes. I thought he would like some new bedding for his big boy bed, which he just moved into a few weeks ago! Yay Little Boo!! Starting with an applique pillow case.
Messure an existing pillow case while it's laying flat. Double the height and add 1/2 an inch. Add about 4 inches to the width.
Laying the fabric right side down, fold over the side that will be the opening 4 inches. Add a 1/2 hem and sew it down.
If you are going to applique something to the front or add any other embellishments now's the time!
Fold in half right sides together and sew along the edge, but don't sew the opening closed!!
Turn right side out, fill with pillow, apply to bed and admire your handy work.
I can't wait to give this to my Boo in 64 days! I know he's going to love it. =D
Tuesday, April 12, 2011
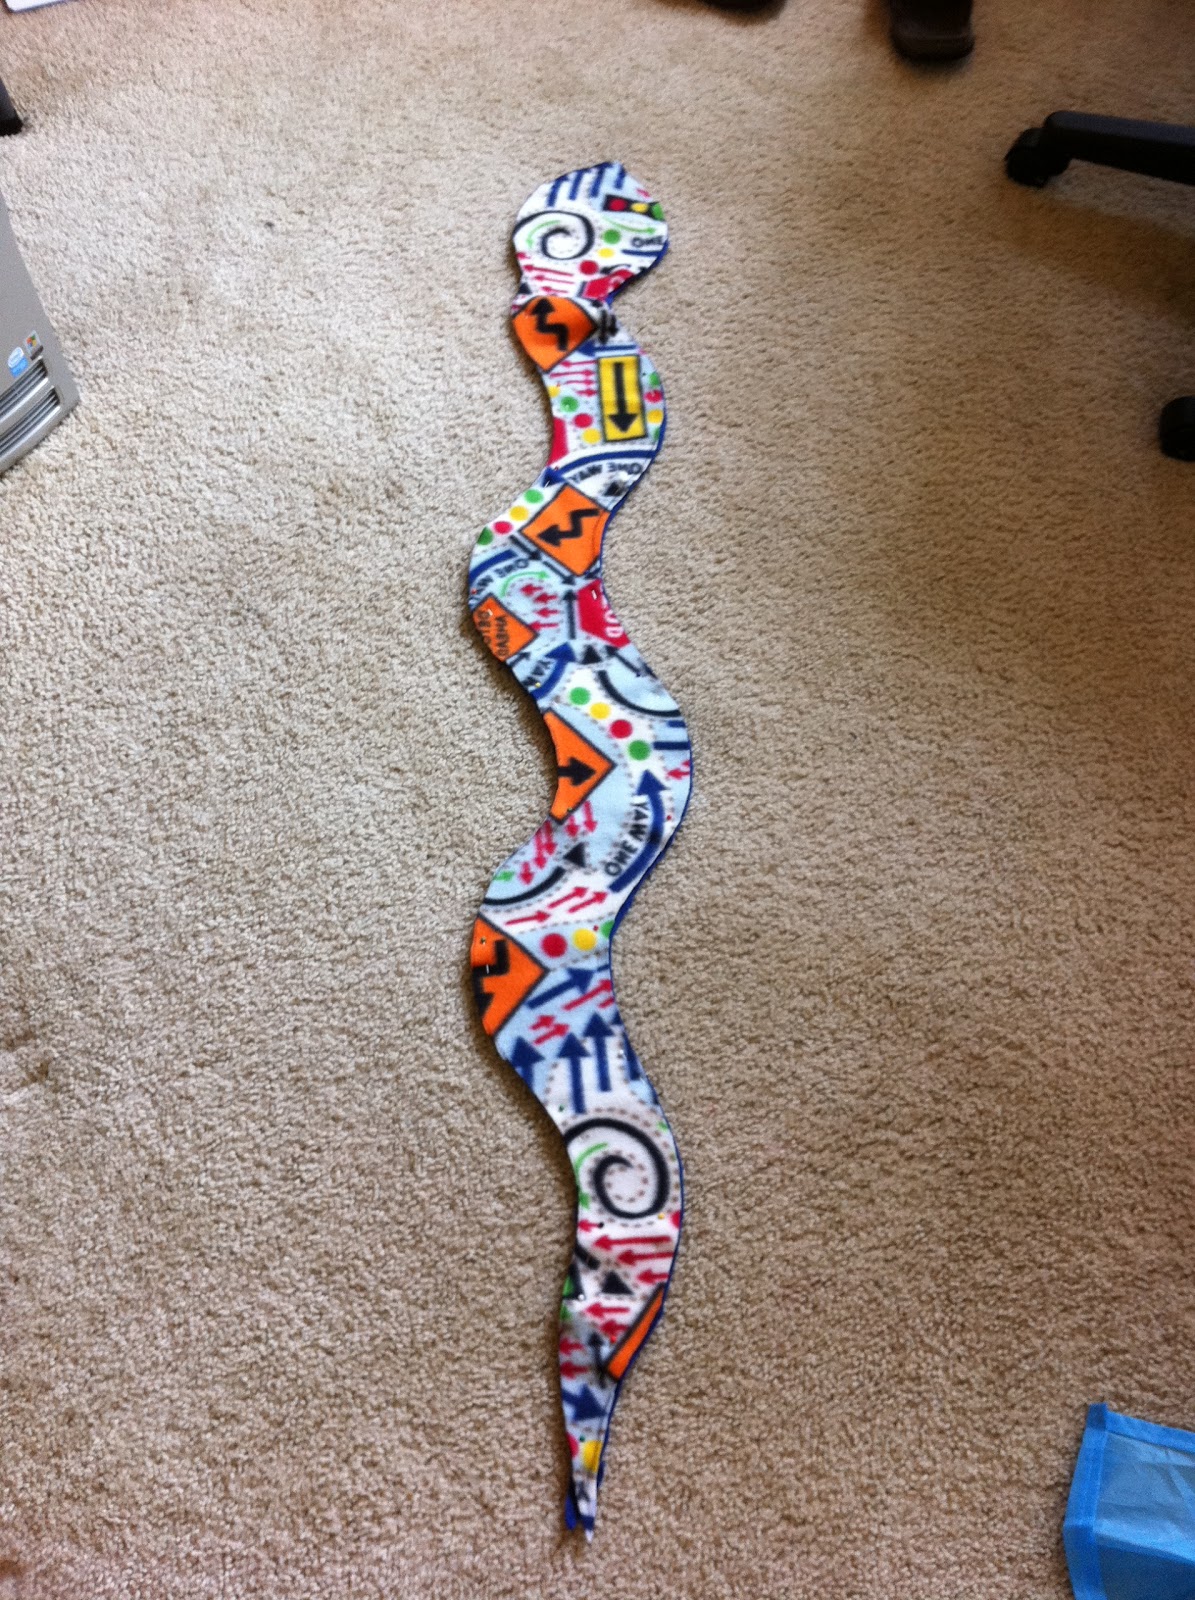
Stuffed Snakes
My boys are constantly fighting over a stuffed snake I made for my Littlest Boo for Christmas. Constantly. If one has it the other one wants it. What's a mother to do? Make another one of course!! Luckily these snakes are easy and quick to make.
Stuffed Snake Supplies:
Two pieces of coordinating fabric cut to your desired length
(I used fleece to make them extra cuddly)
Scrap felt for eyes and tongue
Pin two pieces of fabric right sides together
Draw a basic snake shape on the wrong side of one fabric
Cut it out
Cut two white circles and two smaller black circles out of felt
Unpin the snake's head and sew the white circles to the right side of the fabric that will be the snake's top.
Repeat step with the black circles
Cut out a "Y" shape from felt for the tongue
Pin it into place in between the two right sides of the fabric as shown. --->
Start sewing a few inches below the head of the snake to make stuffing the snake easier
When you get around to the tongue back stitch over it a couple of times to make sure that it is locked in.
My boys love to drag the snakes around by the tongues so I didn't want it to go anywhere!
Leave a gap large enough to stuff the snake and then stuff it!
I used stuffing for the snake's head and Styrofoam beads from an old bean bag for the body but you can use just stuffing throughout. It's really up to you.
Hand sew the opening closed
Then...
watch where you sit because there could be a snake!
I know that some of you are waiting for the insulated lunch box tutorial and it is currently in the works for Thursday. It's a bit more complicated than the snake!
Subscribe to:
Posts (Atom)