Friday, June 24, 2011

Ant Farm

When did ant farms start costing 20 bucks? What is it really? Some cheap plastic, dirt and ants. Not really worth the whole 20 dollars I'd say. So why not build your own ant farm? It's easy enough and you probably have everything you need laying around your house.


DIY Ant Farm:

One large plastic container
One smaller plastic container
Hot glue
Pin and lighter or wire mess
Dirt
Ants


Glue the smaller container in the middle of the big contaner. Put the lid on the smaller container.


Next heat your pin with a lighter and start poking holes in the lid of the larger container. Make sure that your holes are small enough that the ants will not escape.  If using wire mesh make sure that the holes in the mesh are small enough so the ants will not escape (I used a tea ball thingy cut in half.) Cut a hole in the larger plastic lid. Use lots and lots of hot glue to secure the mesh to the plastic lid and to make sure the ants don't escape!


Fill the space inbetween with dirt.


Add ants. (here are some tips!)

Watch as the ants dig and eat and do ant stuff.


It's best to cover the ant farm with black construction paper or fabric on the outside so the ants feel as if they really are in the dirt.

So for the cost of a used plastic garlic jar and a used rice jar my Little Bugs now have little ant bugs to watch!

(And yes I have returned from the dead or more like the land of very busy special needs mom =D)

Like me on Facebook!

Friday, April 22, 2011

Basic Pillow Case


My baby Boo's 2nd birthday is coming up quick, only 64 more days! Right now that Little Boo is into construction trucks, especially excavators and backhoes. I thought he would like some new bedding for his big boy bed, which he just moved into a few weeks ago! Yay Little Boo!! Starting with an applique pillow case.


Messure an existing pillow case while it's laying flat. Double the height and add 1/2 an inch. Add about 4 inches to the width.

Laying the fabric right side down, fold over the side that will be the opening 4 inches. Add a 1/2 hem and sew it down.


If you are going to applique something to the front or add any other embellishments now's the time!


Fold in half right sides together and sew along the edge, but don't sew the opening closed!!


Turn right side out, fill with pillow, apply to bed and admire your handy work.

I can't wait to give this to my Boo in 64 days! I know he's going to love it. =D

Tuesday, April 19, 2011

The Oak Hill Wildfires

Over the weekend, as all of us Austinites know, there was a wildfire that swept through the Scenic Brook neighborhood just behind the ACC campus at the "Y".


Ten homes were completely destroyed. One of them belonging to a friend of mine. Yep, that's her house here on the Fox 7 video below.


She, her husband and their two baby boys lost everything. Not only their home but the kids' toys, clothing, pictures, furniture, even the little things like kitchen utensils, hair brushes, make-up, dog bowls. All gone.

Friends of the family have set up a website to collect donations to help this young family after the devastating loss of their home and everything they owned. If you would like to help click here. Any little bit helps.

If you know someone else who was effected by this fire and is in need of help, feel free to leave the information in the comments section and how to go about getting them aide.

Monday, April 18, 2011

Insulated Toddler Lunch Box


Here it is! Late... but better late than never! The insulated toddler lunch box! I made one of these for my Kyle. He loves it and gets so many compliments on it. Best of all mommy made it with love!


Supplies: 

1/3 of a yard of outer fabric
1/3 of a yard of lining fabric
1/3 of a yard of insulbright
1/3 of a yard of light interfacing
A scarp of fabric at least 3 x 6 inches
3 inches of Velcro


Draw Out the Plan

 
Draw a straight line 8 inches long. Mark the exact middle. From the middle draw a line 9 inches straight down. Draw a line 11 inches long at the bottom with the exact middle (5.5 inches) being at the bottom of the 9 inch line. Taking your ruler connect the ends up the 8 inch and 11 inch lines. You should end up with a trapezoid. Yay!


Take a new piece of paper draw a line 7 inches long. From the center draw a line 3.5 inches long. Connect the ends of each line with a curve.


Cut Out the Fabric


Using the trapezoid pattern cut out two from the outer fabric, two from the lining fabric, two from the interfacing and two from the insulbright. 

Using the flap patter cut out one from the outer fabric, one from the lining fabric, one from the interfacing and one from the insulbright.

 From the scrap fabric cut out one 3 x 6 inch piece for the handle


Ironing


Iron the fusible interfacing to the two outer fabric pieces and the top fabric of the flap.

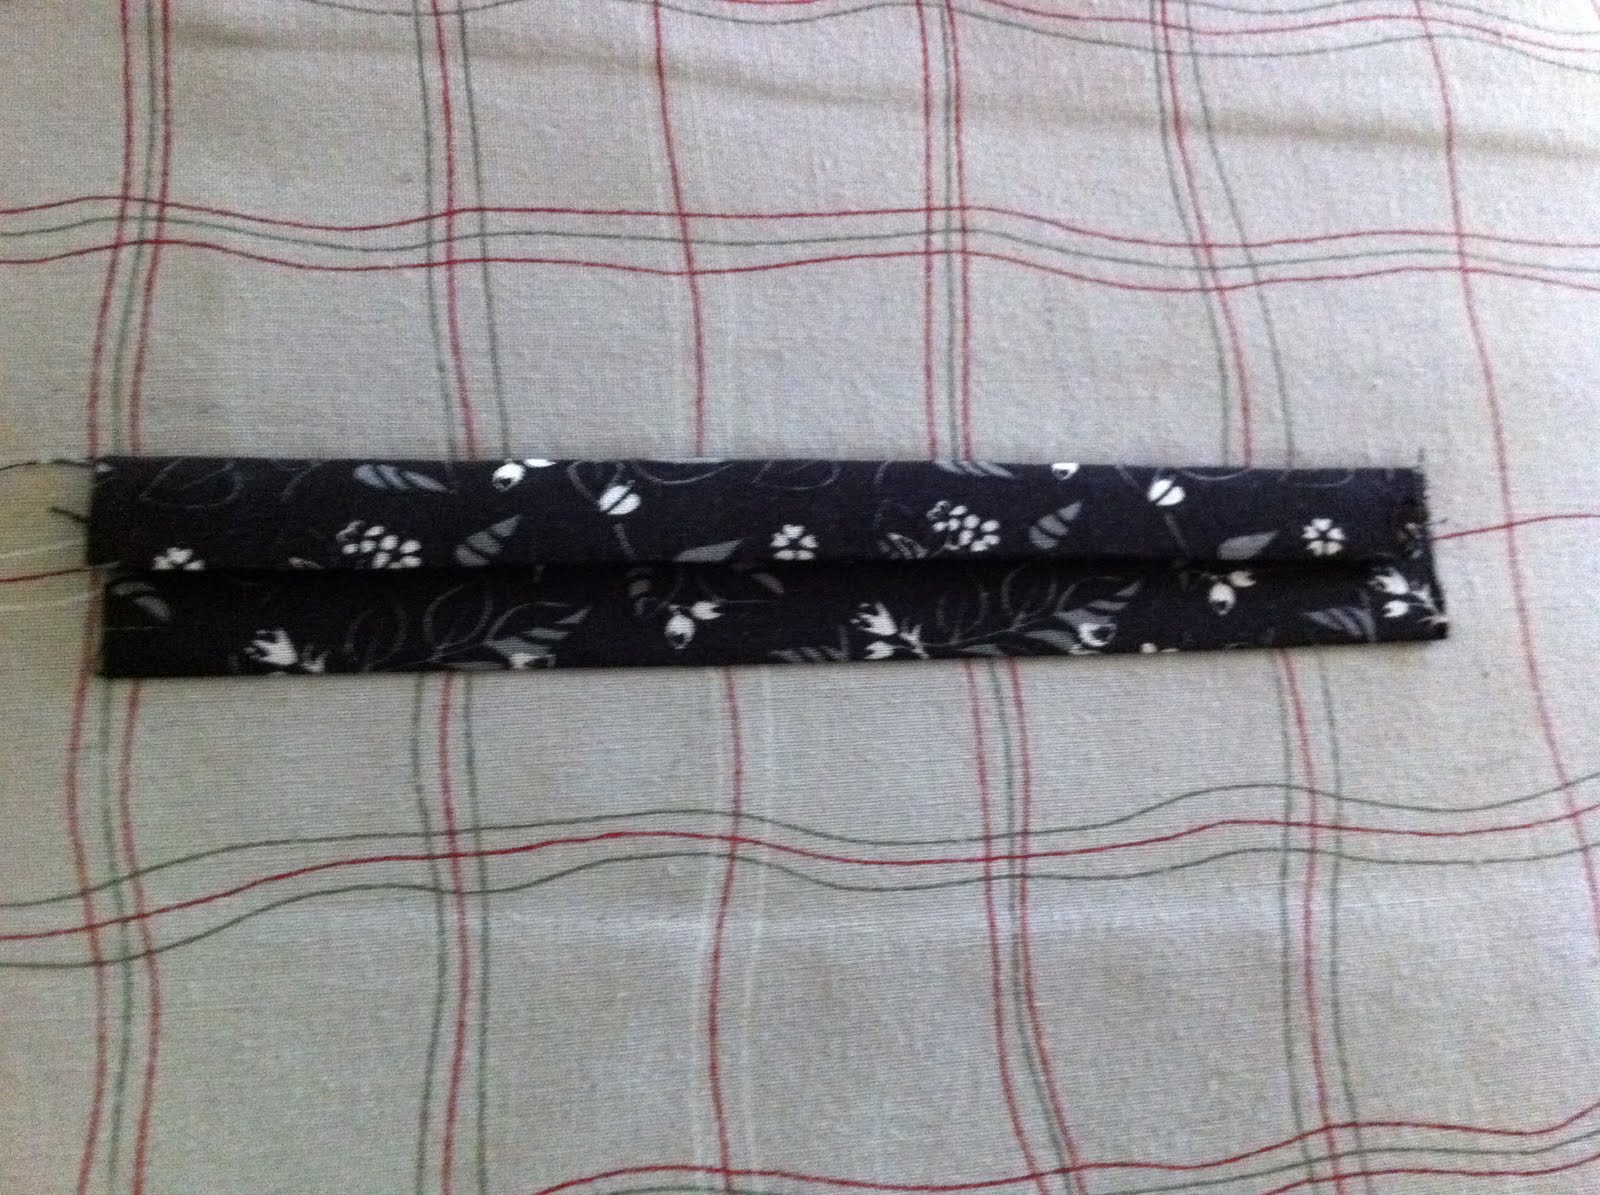
Iron the the 3 x 6 piece of fabric flat


Iron one side over at an inch


Iron the other side over 1/2 an inch so that the raw edges are touching.


Iron short fold over one more time at 1/2 an inch. It should look something like this when done.

Sew closed along the seam down the middle


Sewing


Take the peice of fabric that will be the back of the lunch box. Find the center of the top and mark it. (It should be at 4 inches)

Pin the bag handle like shown on either side of that mark.

Using a basting stitch at 1/4 of an inch sew into place.


Take the bottom fabric for the lunchbox flap and sew one side of the 3 inch Velcro to it about 1/2 an inch up from the tip of the curve.
Next take all the lunchbox flap pieces.

Lay the fabric pieces right sides together with the insulbright under the top fabric.

<-----Like this

Match up the raw edges

Sew along to curve at 1/4 an inch.

Clip the curves, turn inside out, and press flat.


Center the flap on the back outer piece of the lunch box with velcro side facing up. Baste stitch into place.

The bag handle should be right underneath the flap at this point.


Measure 3 inches from each side and 2 inches down and place the Velcro.

Sew the Velcro into place on the front piece of the outer lunch box fabric.


Layer the fabric insulbright, outer fabric and inter fabric with the outer and inter fabrics right sides facing.

Sew along the top edge with a 3/8th seam allowance.

Repeat with the other fabric.

Go slow over the bag flap and handle area, that's a lot of layers to go through!


Open the fabric up and lay it so that the two inter-fabrics and the two outer fabrics are laying right sides together.

<----Like this


Sew along the edges leaving an 8 inch gap at the bottom of the inner fabric for turning.


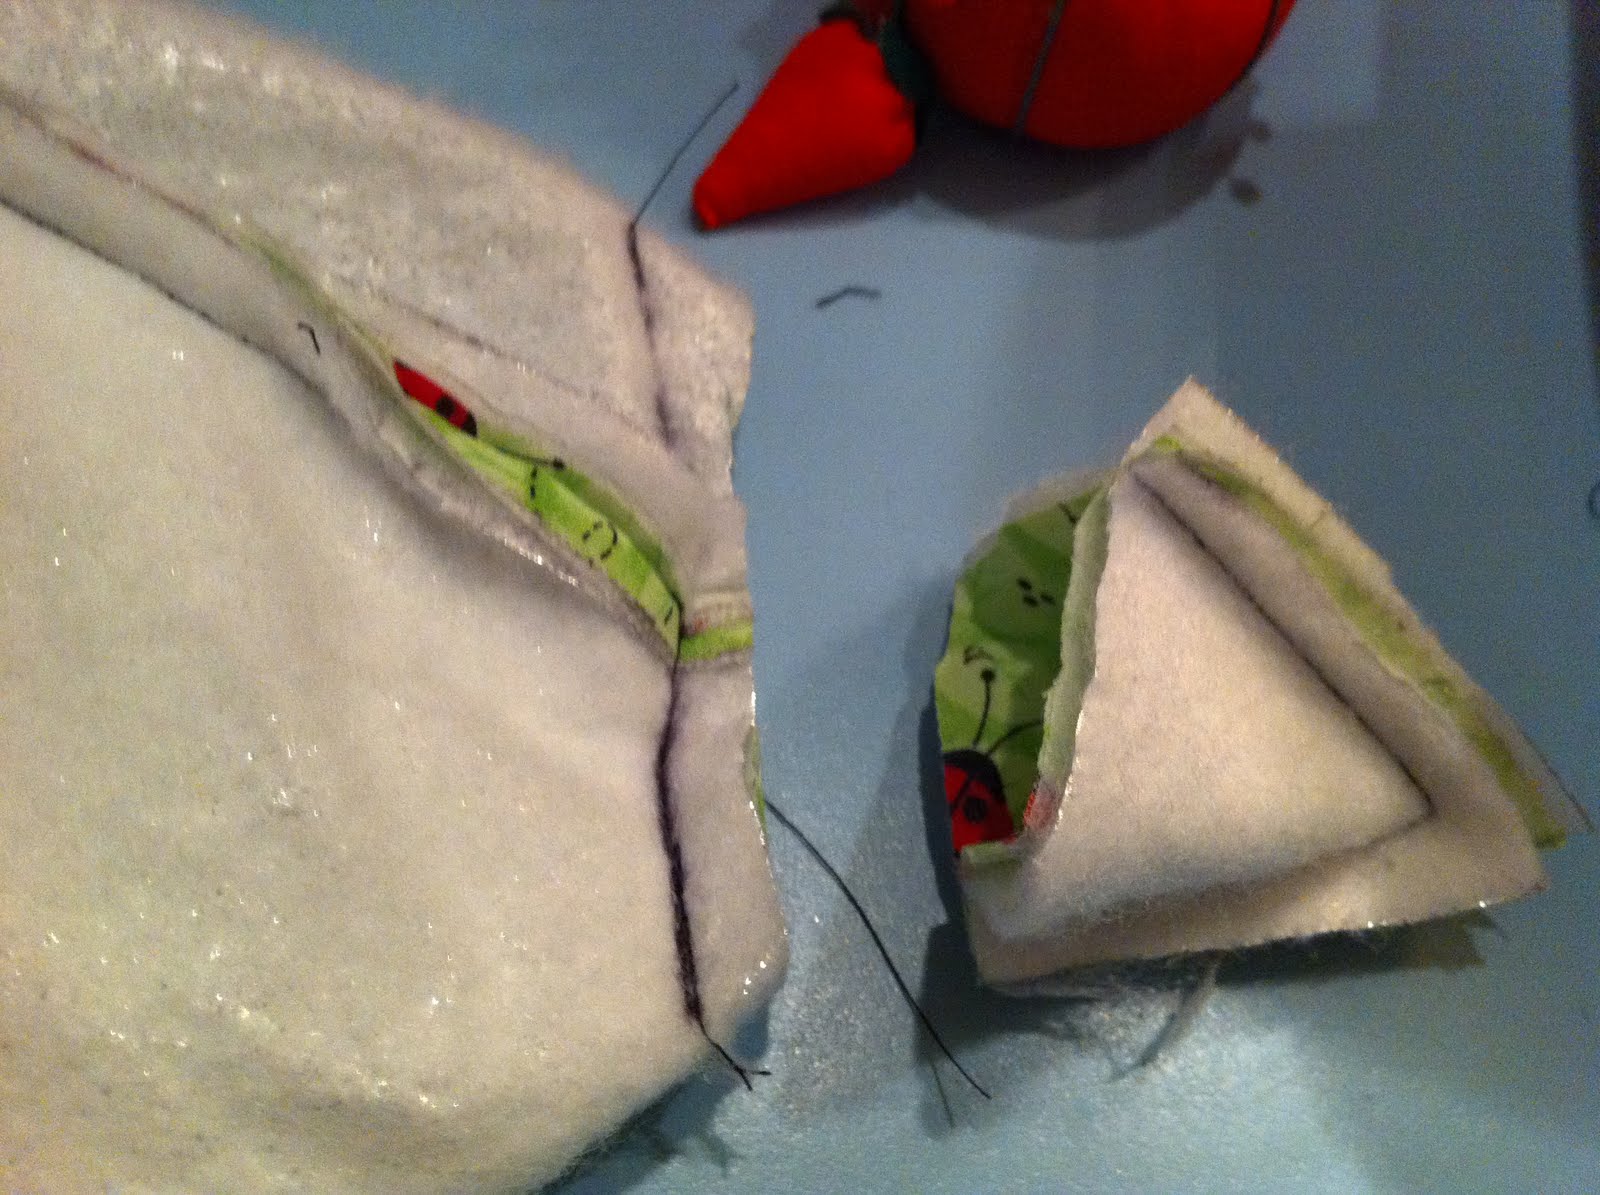
Next create a box corner by pressing the fabric together at the points with the seams open.

Measure two inches up from the point. Mark with a line. Sew down that line. Don't forget to back stitch to lock it all into place.

(No chipped lime green nail polish this time!)


Cut off the corner leaving about 1/4.

Repeat for the other 3 corners.


Turn the lunch back right side out with the lining sticking out.


Fold in the raw edges, press flat and sew the gap in the linning closed.

Shove the lining back into the lunch box.


Top stitch around the lip.


Call it done and admire your work!

Tuesday, April 12, 2011

Stuffed Snakes

My boys are constantly fighting over a stuffed snake I made for my Littlest Boo for Christmas. Constantly. If one has it the other one wants it. What's a mother to do? Make another one of course!! Luckily these snakes are easy and quick to make.


Stuffed Snake Supplies:

Two pieces of coordinating fabric cut to your desired length 
(I used fleece to make them extra cuddly)
Scrap felt for eyes and tongue


 Pin two pieces of fabric right sides together

Draw a basic snake shape on the wrong side of one fabric

Cut it out


Cut two white circles and two smaller black circles out of felt

Unpin the snake's head and sew the white circles to the right side of the fabric that will be the snake's top.

Repeat step with the black circles


Cut out a "Y" shape from felt for the tongue

Pin it into place in between the two right sides of the fabric as shown. --->


Start sewing a few inches below the head of the snake to make stuffing the snake easier

 When you get around to the tongue back stitch over it a couple of times to make sure that it is locked in. 

My boys love to drag the snakes around by the tongues so I didn't want it to go anywhere!


Leave a gap large enough to stuff the snake and then stuff it!

I used stuffing for the snake's head and Styrofoam beads from an old bean bag for the body but you can use just stuffing throughout. It's really up to you.

Hand sew the opening closed

Then...


watch where you sit because there could be a snake!


I know that some of you are waiting for the insulated lunch box tutorial and it is currently in the works for Thursday.  It's a bit more complicated than the snake!

Tuesday, April 5, 2011

Girl's Ruffled Half Apron

This apron for the Angel Heart Children's Shelter auction turned out A-dorable! Really! Look at how cute this thing is? Makes me wish I had a girl...


Girl's Ruffled Half Apron

Supplies: 

Main piece: 16 x 9
Ruffle: 2 1/2 x 54 (you can sew two pieces together if needed)
Pocket: scrap of fabric at least 3 1/2 by 4
54 inches of double fold bias tape


Start with the main piece of fabric. Using a bowl or plate trace the curve around the corners and cut. I used a really large bowl.


If needed sew the ruffled strip together to get the right length and press the seam open. 

Hem one side of the strip and do a basting stitch on the other side.

Need to know how to hem? Click here!


Gather the fabric by pulling the basting stitch, trying to create a cute little ruffle throughout like this one here. 


Pin the ruffle to the main fabric, right sides together.


Use lots of pins around the corners. Be careful not to catch the ruffles while sewing. Stitch right along the basting stitch. I went back and reinforced the seam with a zig-zag stitch but that is really up to you.


Cut out a basic pocket shape. Fold the raw edges in by 1/4 inch and press flat. If you are using bias tape over the lip of the pocket like I did you don't have to fold the top of the pocket over. Attach the bias tape to the top of the pocket at this time.


Pin the pocket into place and stitch as close to the edge as you can. Lift the pressure foot and pivot at the corners.


Fold the bias tape in half to find the center, open the bias tape up and pin it to the center of the apron. Pin the bias tape all the way along the apron. 

At the ends of the bias tape take about a 1/4 of an inch and fold it back into it's self creating an end to the tape. Pin in place.


Sew along the bias tape all the way from one end to the other, closing the opening in the bias tape and creating a cute top to the apron and straps!

And there it is the Girl's Ruffled Half Apron! (on a boy...)


On a dog...


And last but not least! On a toddler having a total melt down, because his mom dared to put this adorable apron on him, while big brother tries to comfort him. Don't let this effect your opinion of the apron, however, I'm pretty sure this grumpy toddler is teething all 4 canines this week.