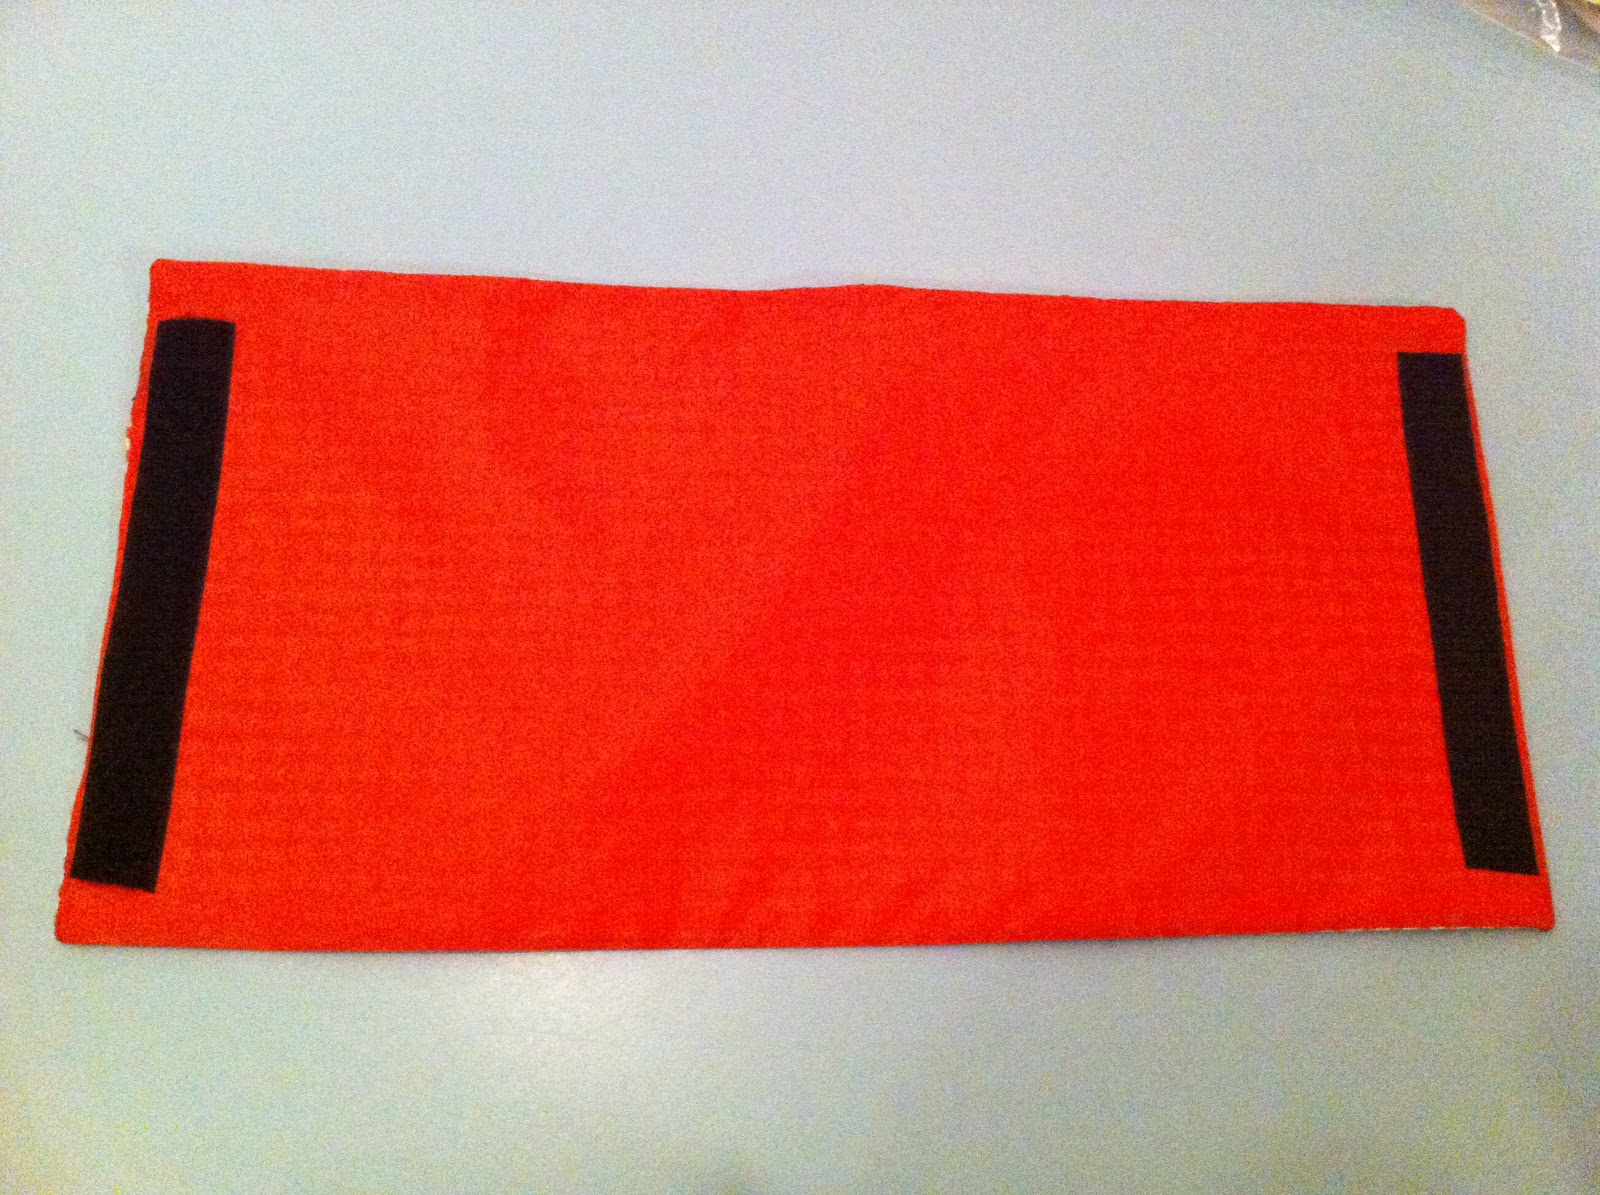
Here it is! Late... but better late than never! The insulated toddler lunch box! I made one of these for my Kyle. He loves it and gets so many compliments on it. Best of all mommy made it with love!

Supplies:
1/3 of a yard of outer fabric
1/3 of a yard of lining fabric
1/3 of a yard of insulbright
1/3 of a yard of light interfacing
A scarp of fabric at least 3 x 6 inches
3 inches of Velcro
Draw Out the Plan

Draw a straight line 8 inches long. Mark the exact middle. From the middle draw a line 9 inches straight down. Draw a line 11 inches long at the bottom with the exact middle (5.5 inches) being at the bottom of the 9 inch line. Taking your ruler connect the ends up the 8 inch and 11 inch lines. You should end up with a trapezoid. Yay!

Take a new piece of paper draw a line 7 inches long. From the center draw a line 3.5 inches long. Connect the ends of each line with a curve.
Cut Out the Fabric

Using the trapezoid pattern cut out two from the outer fabric, two from the lining fabric, two from the interfacing and two from the insulbright.
Using the flap patter cut out one from the outer fabric, one from the lining fabric, one from the interfacing and one from the insulbright.
From the scrap fabric cut out one 3 x 6 inch piece for the handle
Ironing

Iron the fusible interfacing to the two outer fabric pieces and the top fabric of the flap.
Iron the the 3 x 6 piece of fabric flat

Iron one side over at an inch

Iron the other side over 1/2 an inch so that the raw edges are touching.

Iron short fold over one more time at 1/2 an inch. It should look something like this when done.
Sew closed along the seam down the middle
Sewing

Take the peice of fabric that will be the back of the lunch box. Find the center of the top and mark it. (It should be at 4 inches)
Pin the bag handle like shown on either side of that mark.
Using a basting stitch at 1/4 of an inch sew into place.

Take the bottom fabric for the lunchbox flap and sew one side of the 3 inch Velcro to it about 1/2 an inch up from the tip of the curve.
 Next take all the lunchbox flap pieces.
Lay the fabric pieces right sides together with the insulbright under the top fabric.
<-----Like this
Match up the raw edges
Sew along to curve at 1/4 an inch.
Clip the curves, turn inside out, and press flat.

Center the flap on the back outer piece of the lunch box with velcro side facing up. Baste stitch into place.
The bag handle should be right underneath the flap at this point.

Measure 3 inches from each side and 2 inches down and place the Velcro.
Sew the Velcro into place on the front piece of the outer lunch box fabric.

Layer the fabric insulbright, outer fabric and inter fabric with the outer and inter fabrics right sides facing.
Sew along the top edge with a 3/8th seam allowance.
Repeat with the other fabric.
Go slow over the bag flap and handle area, that's a lot of layers to go through!

Open the fabric up and lay it so that the two inter-fabrics and the two outer fabrics are laying right sides together.
<----Like this
Sew along the edges leaving an 8 inch gap at the bottom of the inner fabric for turning.
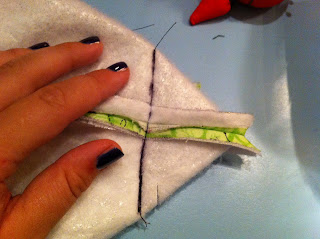
Next create a box corner by pressing the fabric together at the points with the seams open.
Measure two inches up from the point. Mark with a line. Sew down that line. Don't forget to back stitch to lock it all into place.
(No chipped lime green nail polish this time!)

Cut off the corner leaving about 1/4.
Repeat for the other 3 corners.

Turn the lunch back right side out with the lining sticking out.

Fold in the raw edges, press flat and sew the gap in the linning closed.
Shove the lining back into the lunch box.

Top stitch around the lip.

Call it done and admire your work!
From the scrap fabric cut out one 3 x 6 inch piece for the handle
Ironing

Iron the fusible interfacing to the two outer fabric pieces and the top fabric of the flap.
Iron the the 3 x 6 piece of fabric flat

Iron one side over at an inch

Iron the other side over 1/2 an inch so that the raw edges are touching.
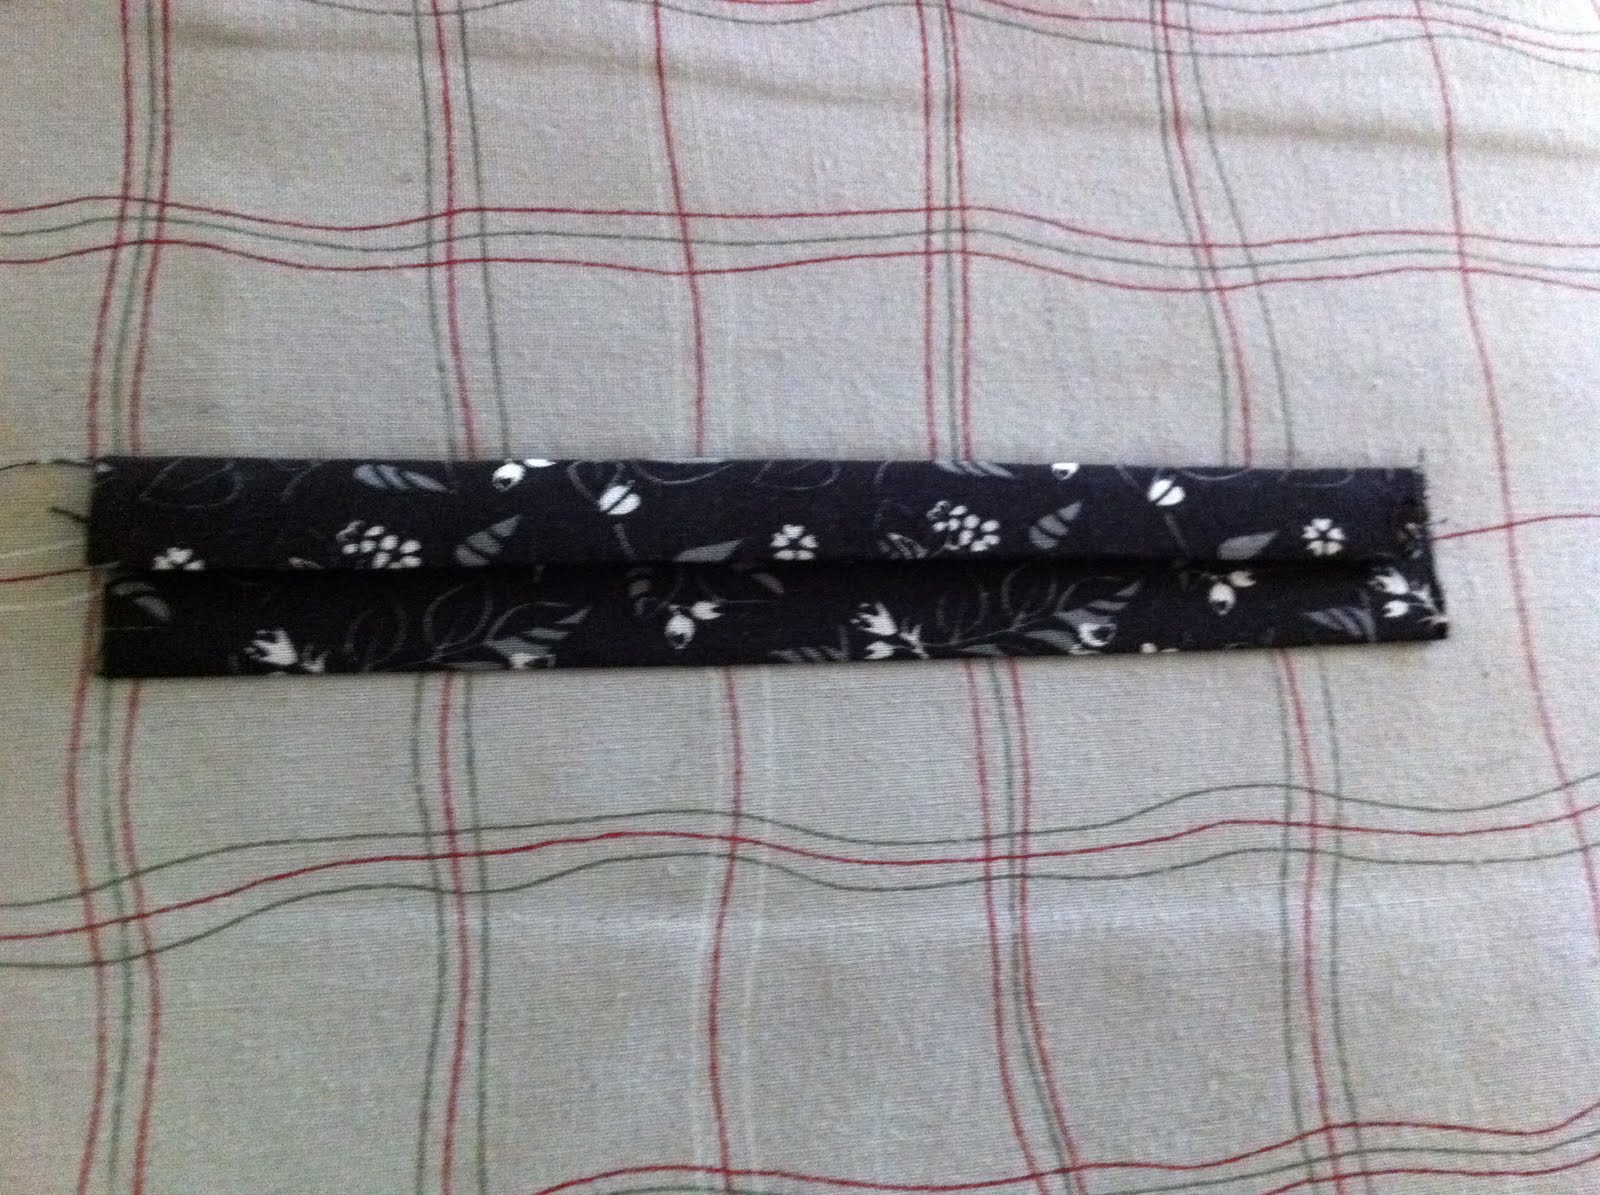
Iron short fold over one more time at 1/2 an inch. It should look something like this when done.
Sew closed along the seam down the middle
Sewing

Take the peice of fabric that will be the back of the lunch box. Find the center of the top and mark it. (It should be at 4 inches)
Pin the bag handle like shown on either side of that mark.
Using a basting stitch at 1/4 of an inch sew into place.

Take the bottom fabric for the lunchbox flap and sew one side of the 3 inch Velcro to it about 1/2 an inch up from the tip of the curve.

Lay the fabric pieces right sides together with the insulbright under the top fabric.
<-----Like this
Match up the raw edges
Sew along to curve at 1/4 an inch.
Clip the curves, turn inside out, and press flat.

Center the flap on the back outer piece of the lunch box with velcro side facing up. Baste stitch into place.
The bag handle should be right underneath the flap at this point.

Measure 3 inches from each side and 2 inches down and place the Velcro.
Sew the Velcro into place on the front piece of the outer lunch box fabric.

Layer the fabric insulbright, outer fabric and inter fabric with the outer and inter fabrics right sides facing.
Sew along the top edge with a 3/8th seam allowance.
Repeat with the other fabric.
Go slow over the bag flap and handle area, that's a lot of layers to go through!

Open the fabric up and lay it so that the two inter-fabrics and the two outer fabrics are laying right sides together.
<----Like this
Sew along the edges leaving an 8 inch gap at the bottom of the inner fabric for turning.

Next create a box corner by pressing the fabric together at the points with the seams open.
Measure two inches up from the point. Mark with a line. Sew down that line. Don't forget to back stitch to lock it all into place.
(No chipped lime green nail polish this time!)
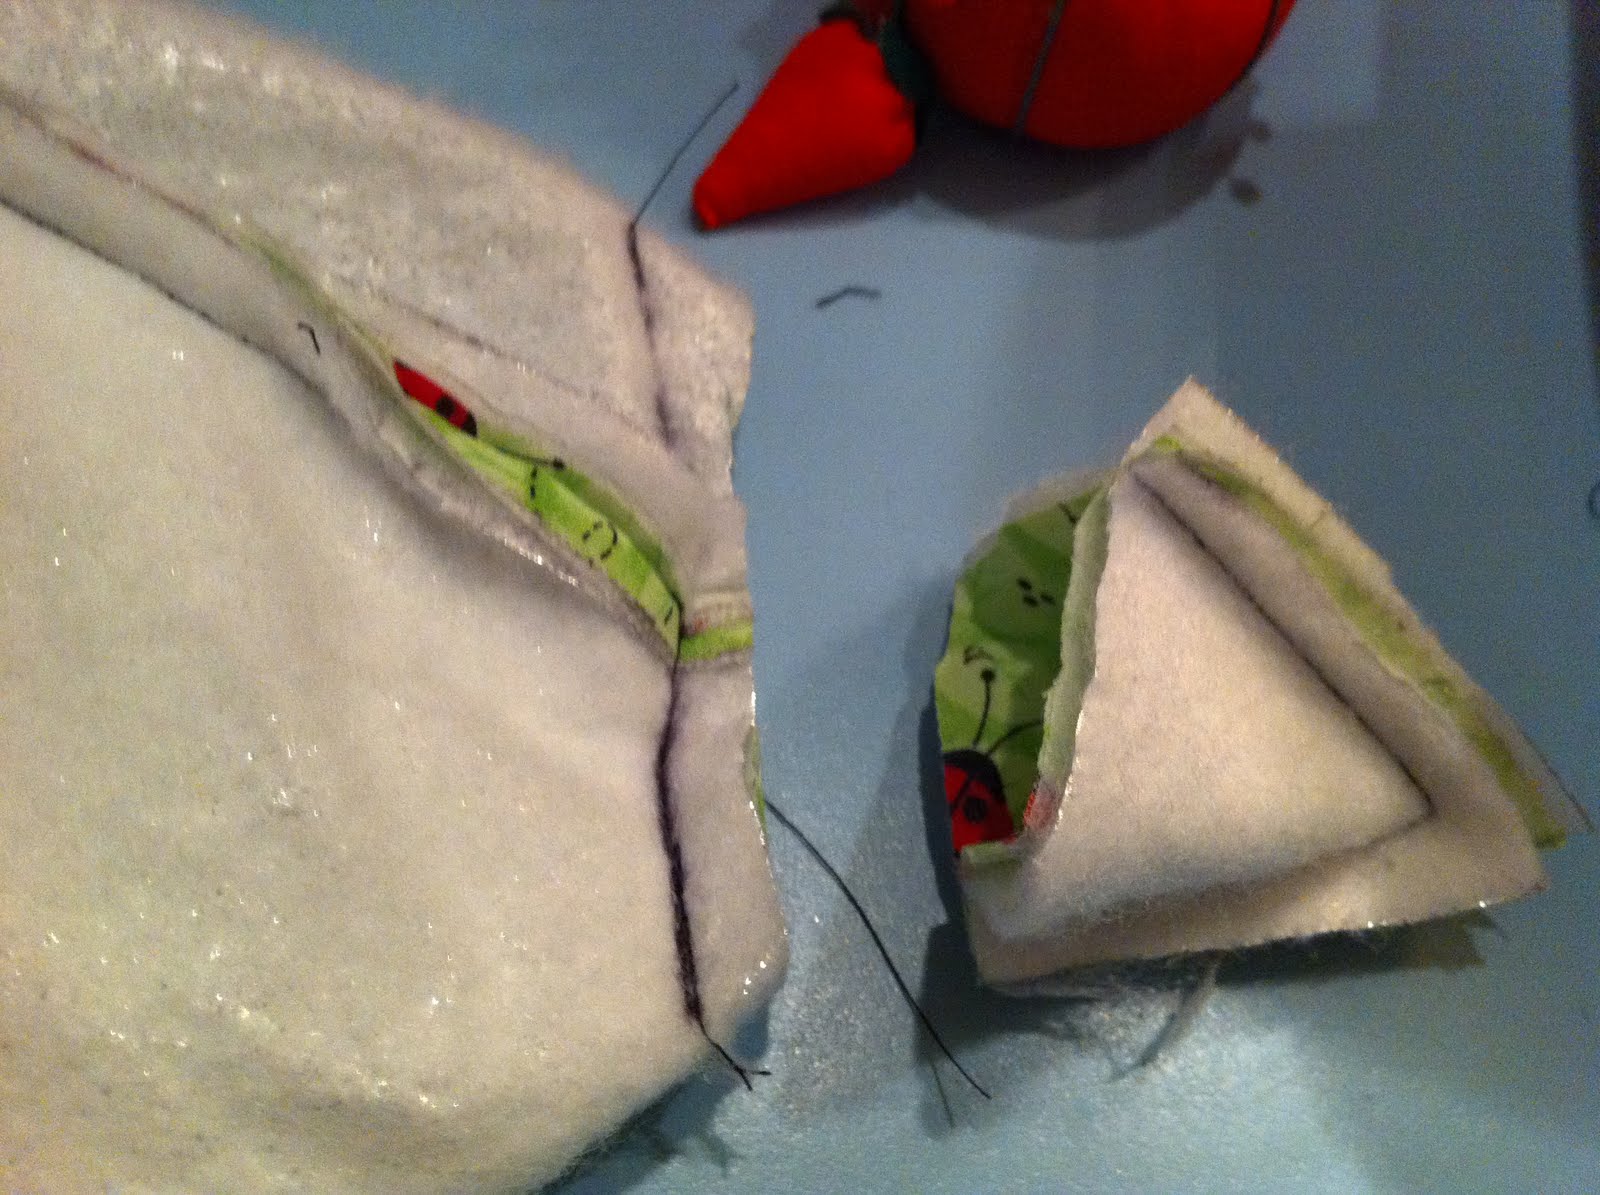
Cut off the corner leaving about 1/4.
Repeat for the other 3 corners.

Turn the lunch back right side out with the lining sticking out.

Fold in the raw edges, press flat and sew the gap in the linning closed.
Shove the lining back into the lunch box.

Top stitch around the lip.

Call it done and admire your work!